I just realized that I never showed you my Pineapple quilt! It's probably my most favorite "make" to date and (if I'm allowed to say this) the one I'm most proud of - only because it took about 100 hours to make so it was a really involved, time consuming project and I love the way it turned out. I can't believe I haven't posted about it yet...sheesh! :)
So, let's go back to how it all began...
~ THE INSPIRATION ~
One day, I was looking around on Pinterest trying to find a good pineapple quilt pattern to work on at a quilt retreat I was about to go to. When what to my wondering eyes did appear, but the most beautiful pineapple quilt I ever did see. I tried to contact the maker and get the information so that I could make the pattern too. All she told me is that it was a pineapple block. But I needed more. I needed this quilt. I needed the pattern! I just HAD to make this quilt. Exactly like it. 100%.
I'm attaching the picture (and the link) that inspired me. Because in no way, shape or form, am I trying to take credit for this quilt. Also, I have to preface all of this by saying that I think the original quilt (above) is far better than mine. I just love it so much. I hope (I think) this is where the adage comes into play, "Imitation is the sincerest form of flattery".
~ THE JOURNEY ~
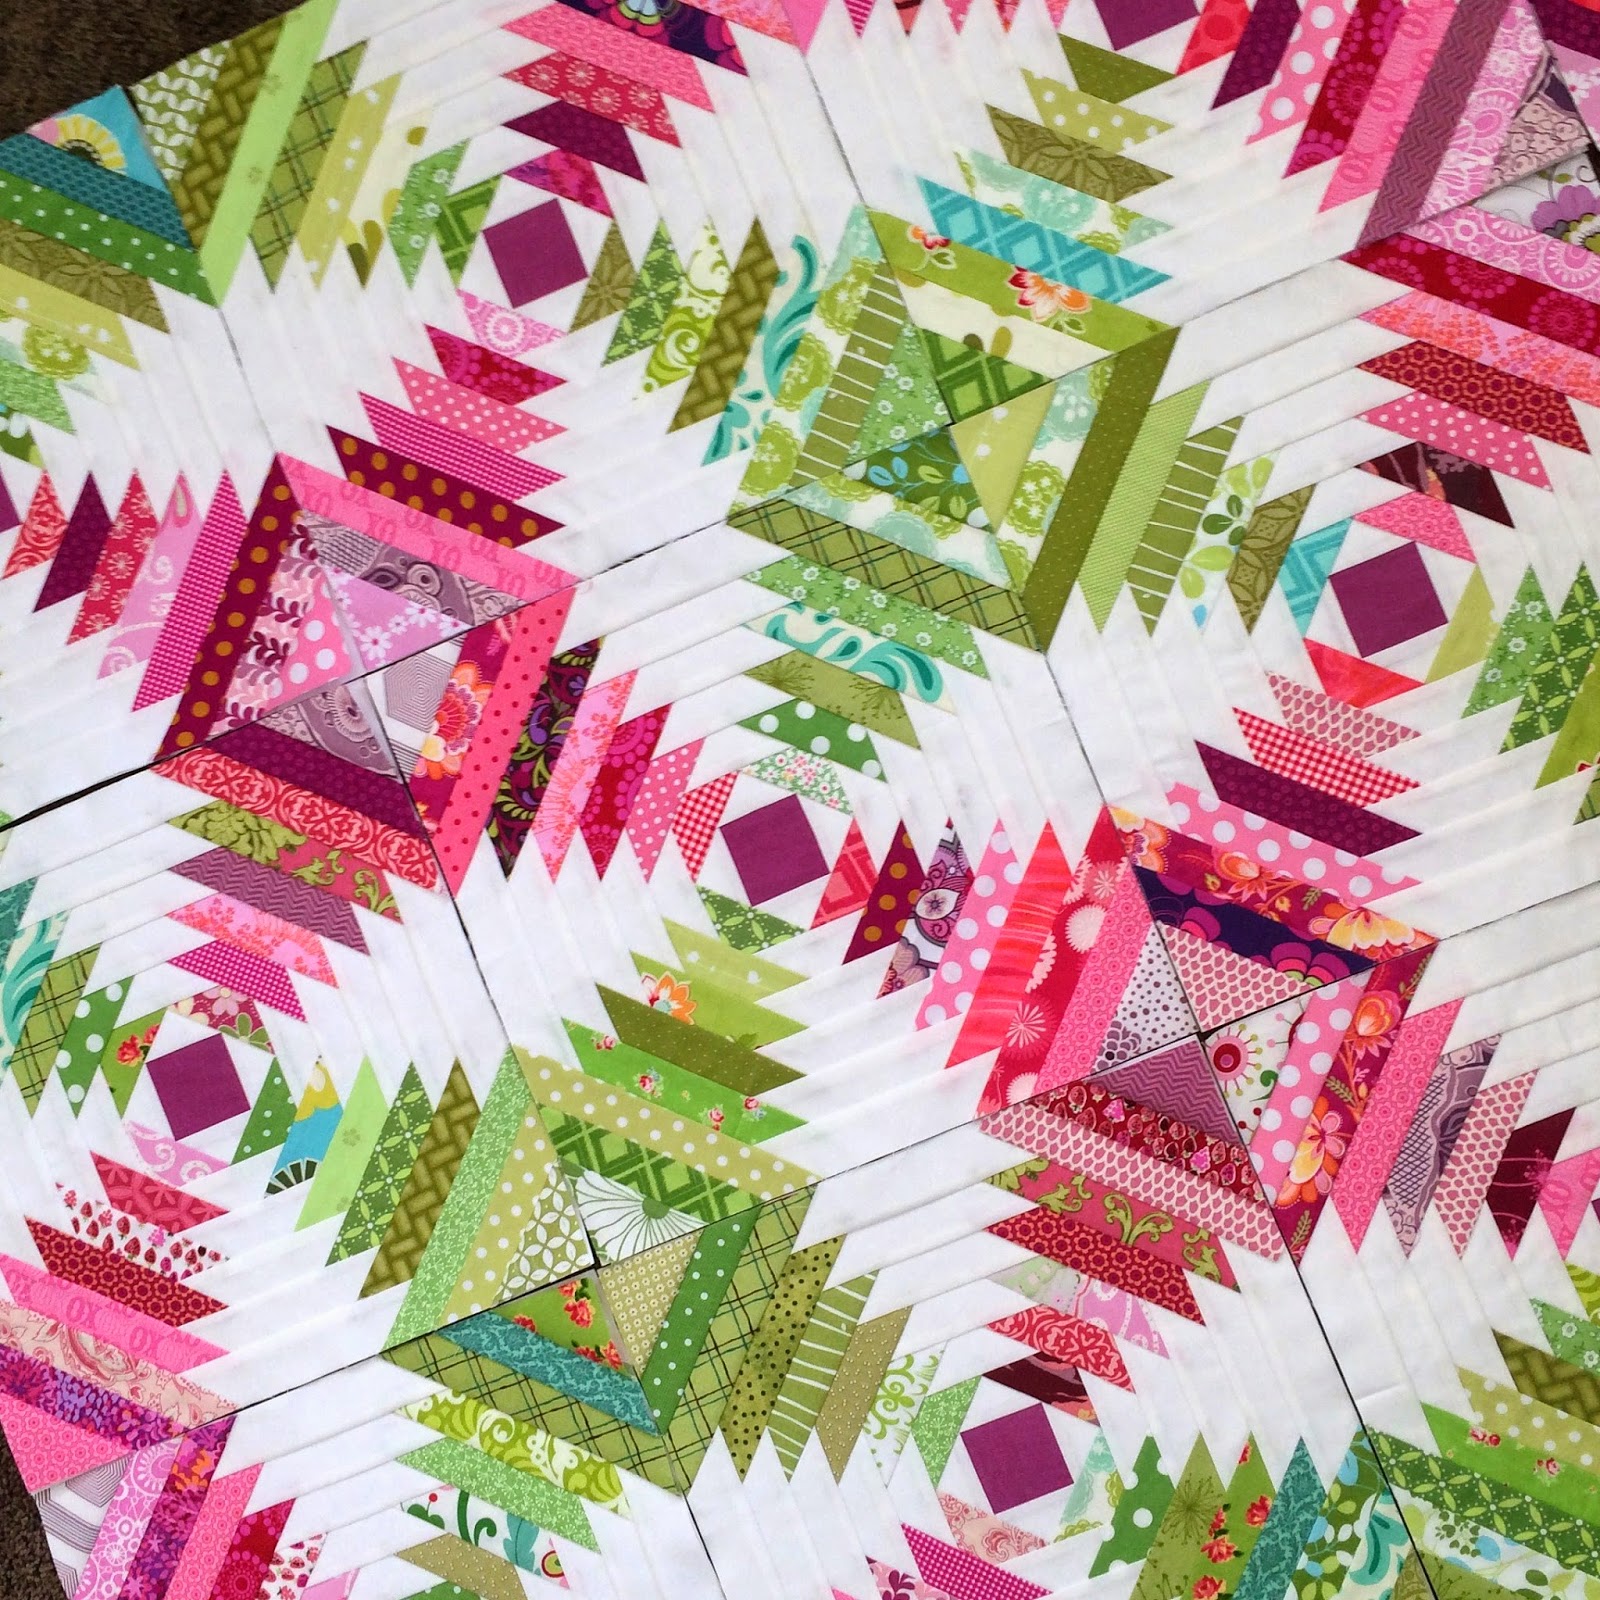
So, I set out to find a pineapple block that was extra large and where all the slices continued out evenly into the corners. That was a lot harder to find than you would think. In fact, I couldn't find exactly what I was looking for, so I designed my own. Each block took me about an hour to paper piece. And I loved every minute of it! Do you like to paper piece? My tutorial for paper piecing these exact blocks is
HERE if you'd like to try it!
I eventually decided to sell these paper patterns in my shop because I thought others might want them too. They finish at 12-3/8" x 12-3/8" - so they're quite large and make a big impact. You can purchase the set of 36 papers
HERE.
After I got the blocks made, I began working on the outer borders. I got two sides finished before I realized that the white background I had used was the wrong color!!! Does stuff like that ever happen to you? Well, that really set me back. I had to put the project away and regroup. Finally, I pulled it back out, gave those two borders to a creative friend (who I knew could come up with some fantastic way of how to use them) and started over. I just didn't want to have any regrets, ya know?
Finished quilt measures approximately 90" x 90".
I finally finished in time to show it at a retreat I was teaching and presenting at last February. And I have to admit, I had a little help at the last minute. I was trying so hard to get all the applique done in time and came to find out that each side was taking me about 10 hours to do. The thought of doing 40 hours worth of applique in a span of a week had me totally overwhelmed. So, my sweet friend Aniva came to the rescue. She appliqued one side of the border so I could get it to my quilter quicker. What a great friend, huh?!?
Melissa Kelley (@sewshabbyquilting) quilted it for me within a week with some of the most amazing hand-guided long-arm quilting I have seen. Seriously, breathtaking. Here are some closeup shots of the quilting...
The back:
For the life of me I can't remember who the designer is of that fabric. Anyone know? I thought the colors were perfect for this quilt and then the birds just put me over the edge! I had to get it!
~ THE LESSONS~
I think sometimes you learn life lessons from creative endeavors, don't you? I started this quilt in February 2014 and finished it two years later. Almost one year later, I blogged about it. So here's what I learned: I never claimed to be 100% on the ball and sometimes set backs come our way. But if we keep plugging away at things (life) and give it our best and surround ourselves with good friends and family that lift us up, things always have a way of working themselves out.
Well, thanks for letting me share this journey with you.
Have a great weekend!
~ Amber


